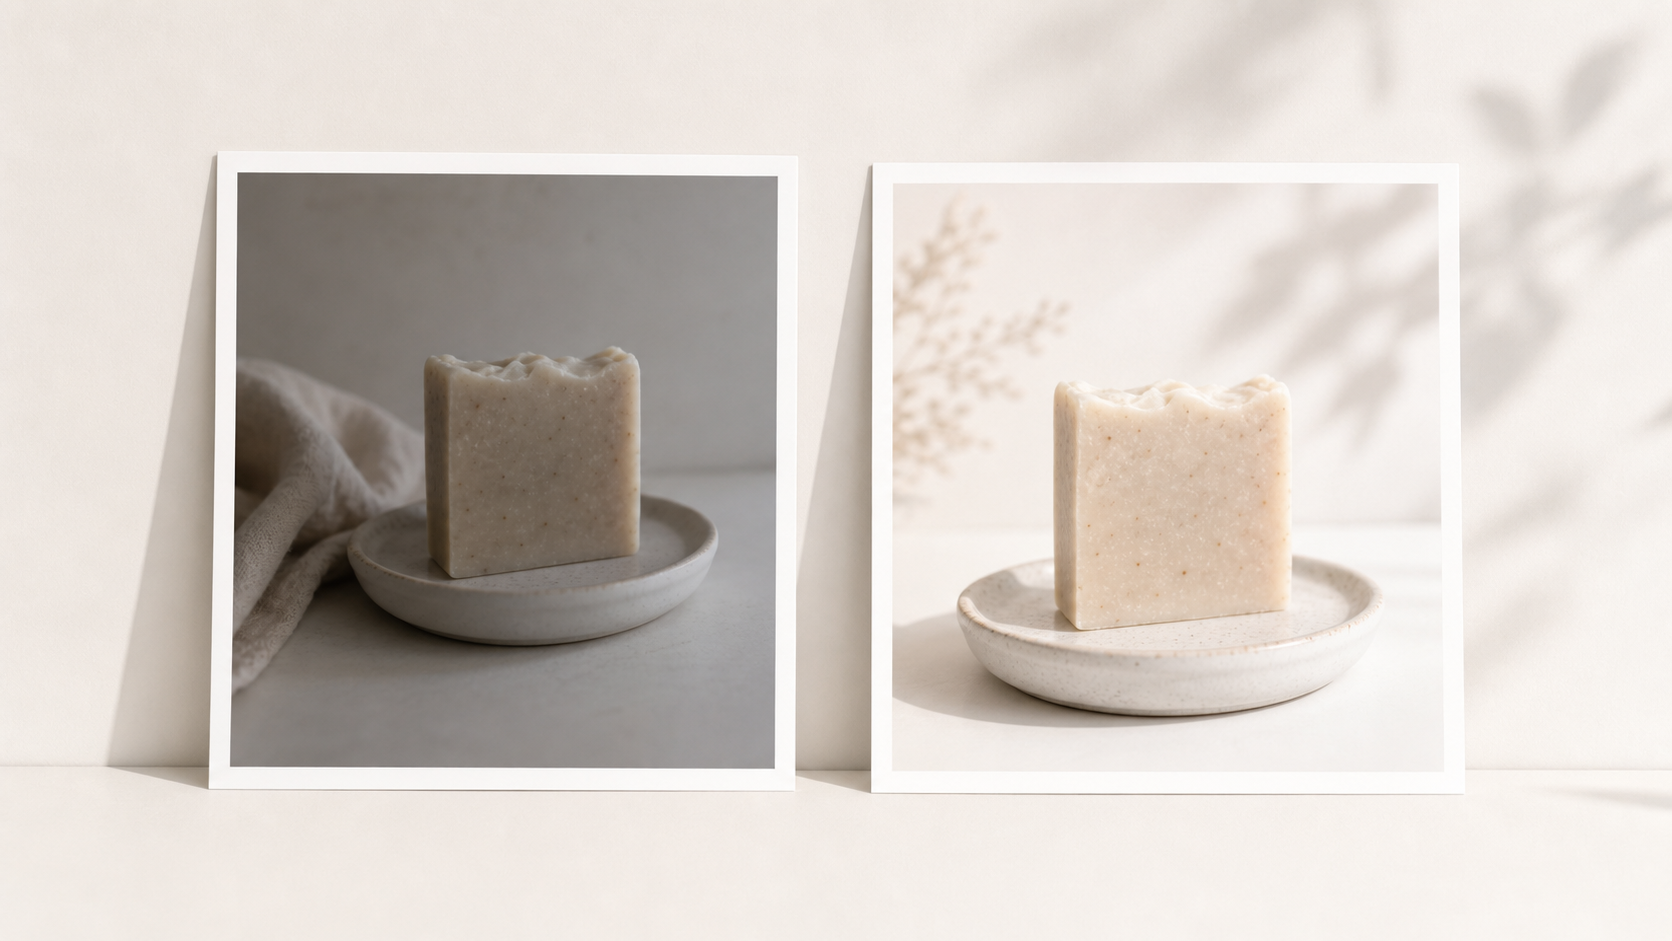
Photoshop costs $22.99 a month. Most Etsy sellers do not need it. What you actually need is a way to crop tighter, fix dim lighting, clean up a distracting background, and keep your listing photos consistent across the shop. Free tools can handle all of that — and a prompt-based AI tool like Stageflow can skip most editing entirely by generating a clean listing photo from a basic product image.
This guide covers the practical workflow: what to edit, what to leave alone, which free tools handle each step, and where Stageflow replaces the work completely.
Why Etsy photos need editing at all
Buyers make a click decision in under two seconds. In that window they are scanning thumbnails, comparing prices, and looking for visual trust signals. A dark, crooked, or cluttered photo loses the click before the buyer ever reads the title. Editing is not about making the product look fake. It is about removing the friction that costs you clicks.
The biggest wins almost always come from five fixes: tighter crop, brighter exposure, cleaner background, accurate color, and a consistent style across the full image set. You can hit all five without Photoshop.
Start with crop — the highest-leverage edit
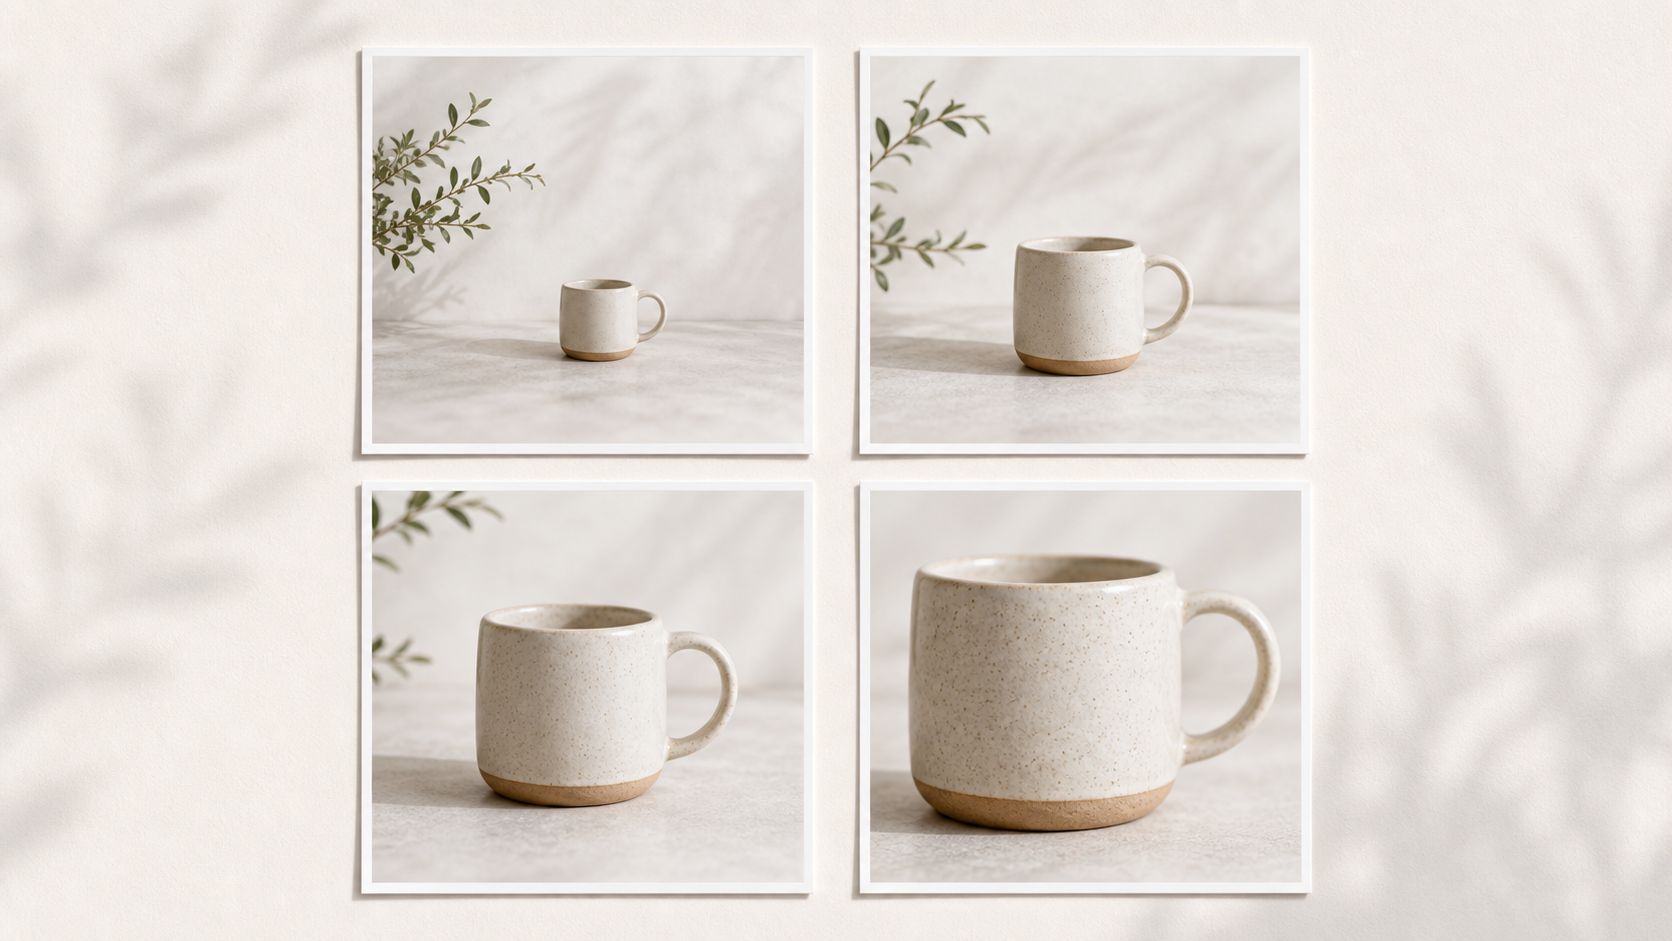
Crop changes the whole image more than any other edit. Etsy shows your photo at thumbnail size before it ever appears full-size in the listing, so the question is simple: can a stranger identify the product in one second at thumbnail size? If not, crop closer.
A few practical rules: use a 1:1 square crop for main images, since Etsy displays main images square in many places. Leave at least 10% margin around the product so Etsy's automatic crops don't clip handles, tags, or packaging. Center the product unless you have a specific styling reason not to. For sticker sheets, jewelry on cards, and printables, crop tight enough to read the design at small size.
Free tools that crop well: Canva (free tier), Photopea (browser-based Photoshop clone, 100% free), iPhone Photos app, Preview on Mac, and Snapseed on mobile.
Fix light before you touch color
Filters tempt sellers because they are fast. They also misrepresent the product. A warm filter makes a cool gray candle look beige. A "vibrant" preset makes muted lavender soap look hot pink. Buyers notice when the item arrives, and they leave reviews about it.
Edit in this order. Exposure first — lift shadows if the photo is too dark, pull down highlights if a white product is blowing out. Contrast second — a small contrast bump of 10 to 15% makes most product photos read better at thumbnail size. White balance third — neutralize any yellow or blue cast. Indoor light is usually too warm; correct it until whites look white. Saturation last, and sparingly — add no more than 5 to 10% unless your product is genuinely vibrant.
Free tools that handle this well: Lightroom mobile (free), Snapseed, Photopea, and Canva's photo editor.
If your product is white, cream, metallic, glossy, or transparent, edit with extra care. Those are the easiest to wreck. A blown-out white candle looks like a white blob; a polished silver ring loses all its texture in over-edited photos.
Clean the background only where it helps
Background cleanup is useful when the background is fighting the product: dust, wrinkles, harsh seams, messy props, a power outlet, a coffee stain on the linen. Background cleanup is not always useful as full removal. Cutting a candle out of every photo and dropping it on pure white can make the listing feel like a stock catalog instead of a handmade shop.
Use a clean background for the main listing image, for color variation comparison shots, and for sticker sheets or printables where the design needs to read clearly. Keep a lifestyle background for supporting images that show use, scale, or styling.
Free background tools: Photoroom (mobile and web, free tier), Remove.bg, Canva's background remover (free with account), and Photopea for manual cleanup.
If you do replace a background, keep the shadow. A product floating with no shadow looks pasted on. Photoroom and Canva both add a soft shadow automatically.
Build a consistent listing set
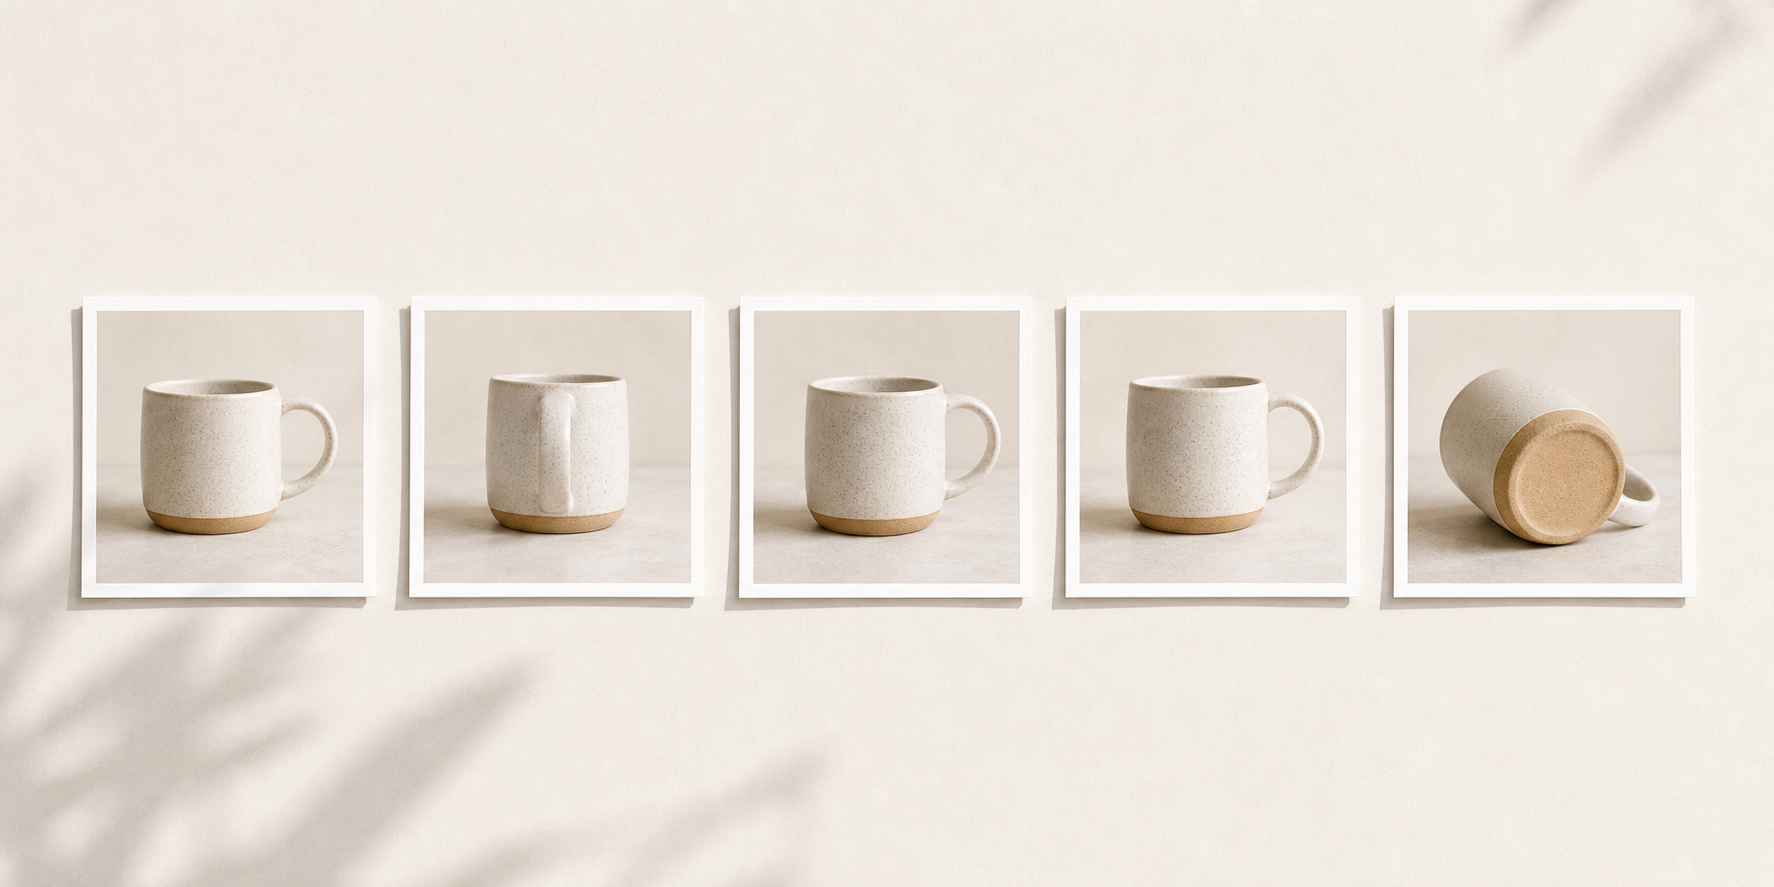
One great photo doesn't save a listing if the other nine look unrelated. Open all your images in a single screen and check three things. Crop consistency — is the product roughly the same size and position across images? Color consistency — do the white balances match, or does one image look warmer than the rest? Background consistency — are the backgrounds compatible, same color family, same level of styling?
Consistency does not mean every photo is identical. It means the set looks intentional. A clean main image, a close-up detail, a lifestyle scene, a scale shot, and a packaging photo can all be different scenes and still feel like one shop — like the set above.
The fastest way to break consistency: editing each photo individually in different apps with different filters. The fastest way to fix it: pick one editing app and run all photos through the same adjustments.
Where Stageflow replaces the editing
Most of the editing above exists because the original photo wasn't shot in good conditions. Stageflow skips that entire problem. You upload a basic product photo — even a phone photo with bad lighting on a kitchen counter — and generate a clean listing image from a prompt.
A practical Stageflow workflow: upload your best available product image. In the Describe the Scene field, write what you want, for example: "Clean studio product photo of a soy candle on a white marble surface, soft natural shadow, bright daylight." Use the Environment buttons to pick Studio Setting, Lifestyle Setting, Styled Surface, or Color & Texture. Adjust the Color Temperature slider — 5500K (Noon Daylight) is the default and works for most listings. Generate, compare a few outputs, and pick the strongest thumbnail.
That replaces crop, exposure, background cleanup, and consistency work in one step. You still apply minor edits — usually just a final crop and any text overlay you add in Canva — but you skip the heavy lifting.
Simple editing checklist
Whether you edit manually or generate with Stageflow, the final image should pass this checklist: readable at thumbnail size, straight horizon and straight product, bright enough to see detail without losing color accuracy, white balance correct with no yellow or blue cast, background supports the product rather than distracting from it, shadow looks natural rather than pasted on, image set feels like one shop, and exported at 2000px or larger on the long side.
For sizing and format requirements, see the Etsy Image Requirements Guide. For the click-through thinking behind these edits, read Etsy Product Photography: What Actually Gets Clicks in Search.
Bottom line
You don't need Photoshop for Etsy photos. Free tools handle crop, light, and background cleanup. Stageflow handles the whole pipeline by generating listing-ready photos from a prompt. Pick the workflow that gets your shop to a consistent, clickable image set faster — and spend the saved hours on listings, designs, and SEO.