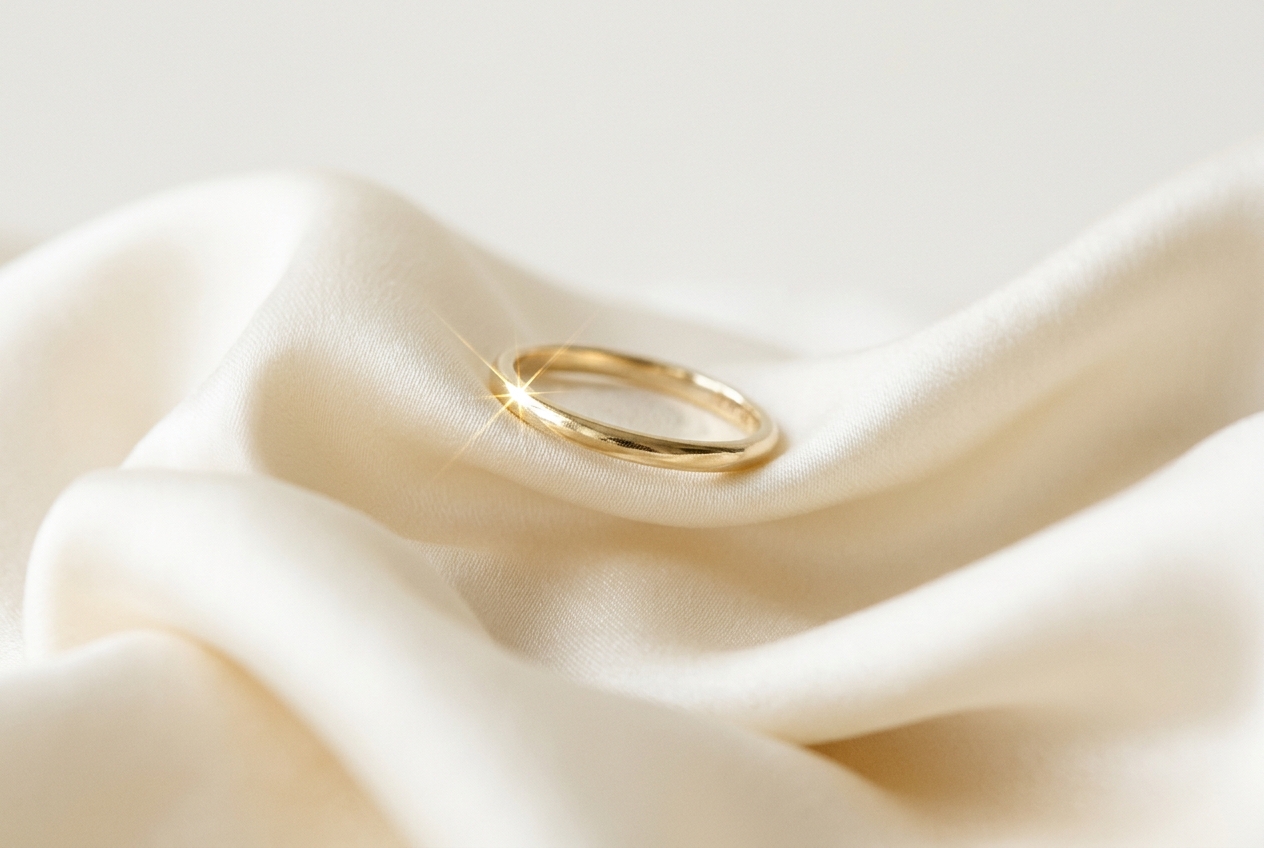
Jewelry is one of the most competitive categories on Etsy, with millions of results when you search for it. In a sea of listings, your jewelry photography is what stops a shopper mid-scroll and earns that click. Yet jewelry is also one of the hardest products to photograph — reflective metals, tiny gemstones, and delicate chains all present unique challenges. This guide walks you through everything you need to know about how to photograph jewelry that actually sells on Etsy.
Why Jewelry Photography Makes or Breaks Your Etsy Sales
The numbers tell the story: 90% of Etsy shoppers rate photo quality as "extremely important" or "very important" to their purchase decision. For jewelry specifically, the stakes are even higher — 22% of all ecommerce returns happen because the item "looked different in person" than in the photos.
Your primary listing photo is your thumbnail in Etsy search results. With millions of competing listings, a blurry or poorly lit jewelry photo gets scrolled past instantly. Conversely, crisp, well-lit jewelry photography builds trust, reduces returns, and drives the click-through rates that boost your Etsy search ranking.
Essential Equipment for Jewelry Photography
You do not need thousands of dollars in equipment to take beautiful jewelry photos. Here is what you need at each budget level.
Budget Setup (Under $100)
Smartphone with a good rear camera — most modern phones are more than capable
Mini tripod or phone clamp ($12-$25) — essential for sharp, consistent shots. Hand-held jewelry photos almost always have some blur.
White poster board ($3-$8) — doubles as a backdrop and light reflector
White foam boards ($5-$10) — bounce light into shadow areas opposite your window
DIY lightbox ($30-$40) — you can buy a small one on Amazon or make one from cardboard and white paper
Intermediate Setup ($200-$500)
Entry-level DSLR or mirrorless camera ($300-$500 used) — a Canon EOS 800D or similar gives you much more control
Kit lens (18-55mm) — sufficient for most jewelry photography
LED panel lights ($50-$150 for a pair) — consistent, controllable illumination regardless of weather
Light tent ($25-$50) — provides even, diffused lighting from all sides, minimizing harsh reflections on metals
Extension tubes ($15-$30) — a budget alternative to a macro lens for capturing fine gemstone details
Must-Have Accessories at Any Level
Lint-free cleaning cloth — fingerprints and dust are magnified in close-up shots
Cotton gloves — handle jewelry without leaving prints
Dulling spray — temporarily mattes extremely reflective surfaces for photography
Gray card — for accurate custom white balance (prevents golds looking too warm or silvers too cool)
Wondering how these costs compare to professional photography or AI alternatives? Check out our complete guide to product photography costs for Etsy sellers.
Lighting Techniques for Different Jewelry Types
Natural Light Setup
Natural light is the most accessible and often the most flattering option for jewelry photography. Position your table 90 degrees to the side of a window — not directly behind it, which creates silhouettes. The closer you are to the window, the softer the light.
Use a diffuser (a sheer curtain or frosted shower curtain works perfectly) to soften harsh direct sunlight. Place a white foam board on the opposite side of the jewelry from the window to bounce light back into the shadows. Overcast days are ideal — the clouds act as a giant natural diffuser.
Rings and Bracelets
For rings and bracelets, a two-softbox configuration at 45-degree angles on either side works beautifully. This eliminates harsh reflections while preserving the natural brilliance of the metal. If the piece has gemstones, mount a small LED strip directly overhead to capture the facets and fire within the stone.
Necklaces and Chains
Suspend necklaces on a bust display or lay them flat in a carefully arranged composition. A single large softbox positioned slightly above and to one side creates beautiful dimension while keeping the chain links visible. Use black cards (foam board) on the sides opposite your light source to control highlight shapes and prevent unwanted reflections.
Earrings
The key with earrings is consistency between pairs. Position both earrings identically and ensure the lighting is perfectly symmetrical. Any slight difference in brightness or shadow between the two pieces looks immediately off. Photograph them on a flat surface or hanging from a display stand for different perspectives.
Photographing Reflective Metals and Gemstones
Reflections are the biggest challenge in jewelry photography. Here are proven techniques to manage them:
Use softboxes to spread light evenly across pieces rather than creating harsh point-source reflections
Deploy a light tent for highly reflective pieces — it diffuses light from all sides and creates a controlled environment
Polarizing filter on your lens cuts glare by filtering directional light
Angle your lights at edges rather than directly at the jewelry — direct lighting creates hot spots
For different metals, adjust your color temperature:
Silver: Use cooler color temperature (~5500K) with large softboxes and white bounce cards underneath
Gold: Use daylight-balanced lighting and set white balance slightly warmer than your light source to enhance warm tones — gold-toned reflectors add richness
Platinum: Use multiple small diffused light sources with opposing fill lights to preserve the bright white appearance
For gemstones, consider focus stacking — capturing 5-15 images at different focus points and merging them in software like Photoshop or Helicon Focus. This produces tack-sharp images where every facet is crystal clear, which is particularly important because depth of field is extremely shallow in macro photography.
Backgrounds and Styling for Jewelry Photos
Your background should complement your jewelry, not compete with it. Here are the most effective options:
White backgrounds — the standard for clean e-commerce photography. Creates a distraction-free presentation that lets the jewelry shine.
Marble slabs — conveys luxury and sophistication. Great for fine jewelry and precious metals.
Natural wood — works well for rustic, handmade, or boho-style pieces.
Textured fabric (linen, silk) — adds warmth and tactile interest for artisan jewelry.
Etsy-specific tip: Highly polished, completely white backgrounds may look too sterile for Etsy's marketplace. Etsy shoppers are looking for handmade and unique — backgrounds that convey craftsmanship often outperform clinical product shots. Match your background to your brand identity.
Always use matte surfaces — glossy surfaces create unwanted reflections that compete with the jewelry itself. Keep props minimal: one or two complementary elements at most.
Camera Settings for Jewelry Photography
If using a DSLR or mirrorless camera:
Aperture: f/8 to f/16 — gives you enough depth of field to keep the entire piece sharp front to back. f/11 is a reliable sweet spot.
ISO: 100 — base ISO produces the cleanest, noise-free files. Go to 200 max if needed.
White balance: Manual — set between 5000K-6500K depending on your light source. Auto white balance often warms golds or cools silvers incorrectly.
Format: RAW — gives you maximum editing flexibility for color correction and exposure adjustments.
If using a smartphone:
Tap on the jewelry on screen to lock focus
Turn off the flash — always use natural or continuous light instead
Shoot at the highest resolution available
Never use digital zoom — physically move the phone closer instead
Use portrait mode to blur backgrounds while keeping the jewelry sharp
Clean your phone lens before every shooting session — fingerprints cause haze that ruins detail shots
Make sure your images meet Etsy's current specifications by checking our complete Etsy image requirements guide for 2026.
From Photos to Professional Listings with Mockups
Even with great product photos, you still need variety across your listing images. Etsy's 2025 policy requires your first photo to be a real product shot, but slots 2 through 20 are perfect for lifestyle mockups that show your jewelry in aspirational settings.
Instead of hiring a model, renting a studio, or buying props for every lifestyle shot, you can use a mockup generator to place your jewelry into professionally styled scenes. Think of a delicate necklace displayed on a velvet stand in an elegant bedroom, or rings arranged on a marble vanity top.
Stageflow makes this effortless — take your clean product photo and generate multiple lifestyle scenes in minutes. You can fill all 20 listing slots with compelling, varied images without ever leaving your desk. This is especially valuable for jewelry sellers who constantly add new designs and need fresh listing photos at scale.